
Outline:
1. Introduction.
2. Auth0 Setup.
3. Connecting React with Auth0.
4. Rendering dribble profile.
5. Conclusion.
Introduction:
In this blog post, we will see how to add dribble social connection using Auth0 to our React application.

Auth0 Setup:
Create your Auth0 account if you have not created yet and head over to manage.auth0.com link. Please create a tenant if you are using it for the first time.
Click on the Applications navigation link and click on Create Application .
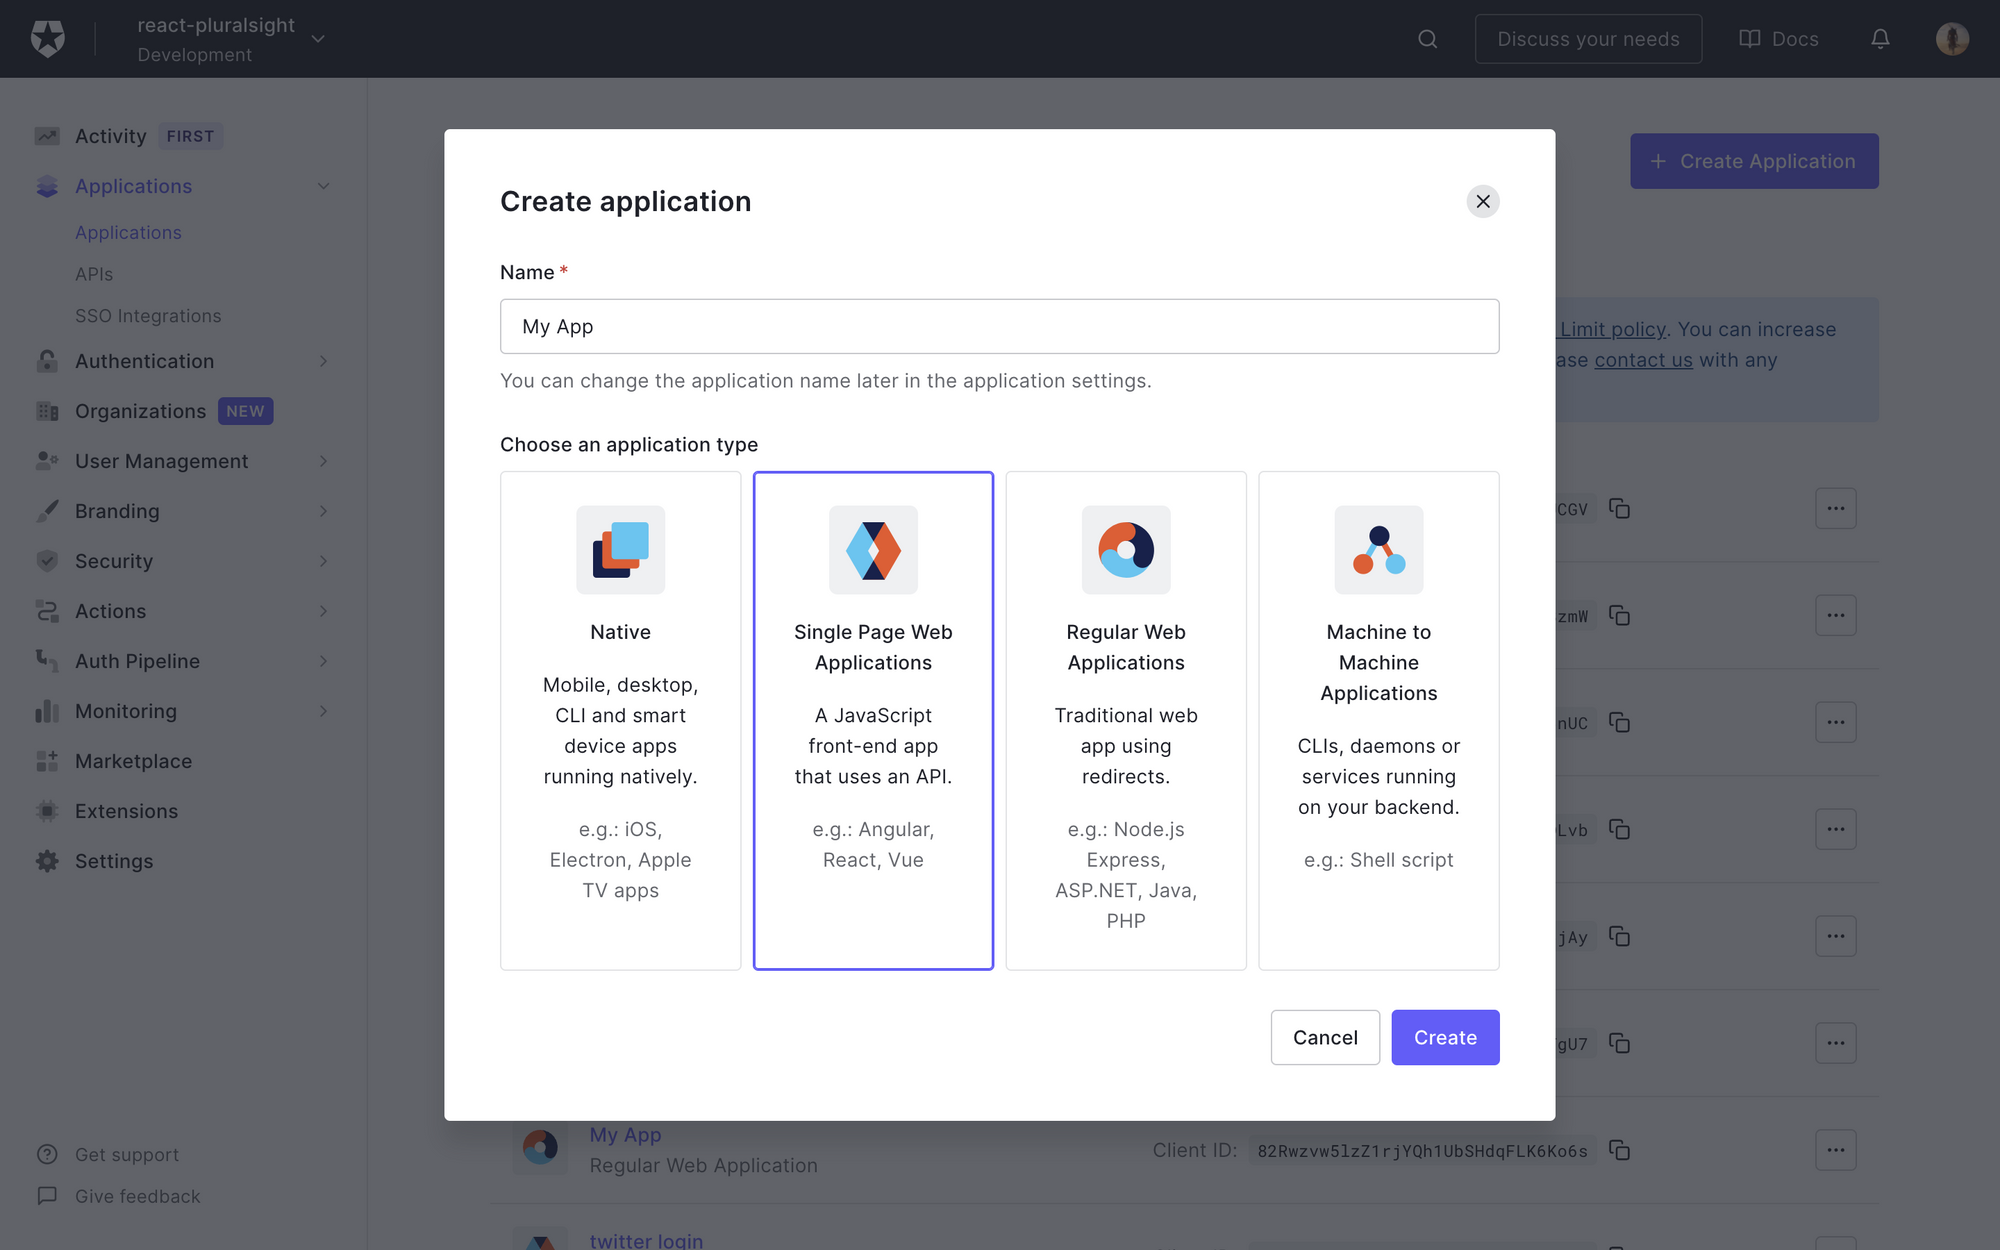
Give your application name and click on single page web application as we will be integrating it with React. I have named mine as Dribble dashboard.
Hit the create button.
Before adding dribble connection to the sample application. We need two things from dribble
Client Id and Client Secret.
 View Website
 View Website
 View Website
Let's go to dribble and register our application.
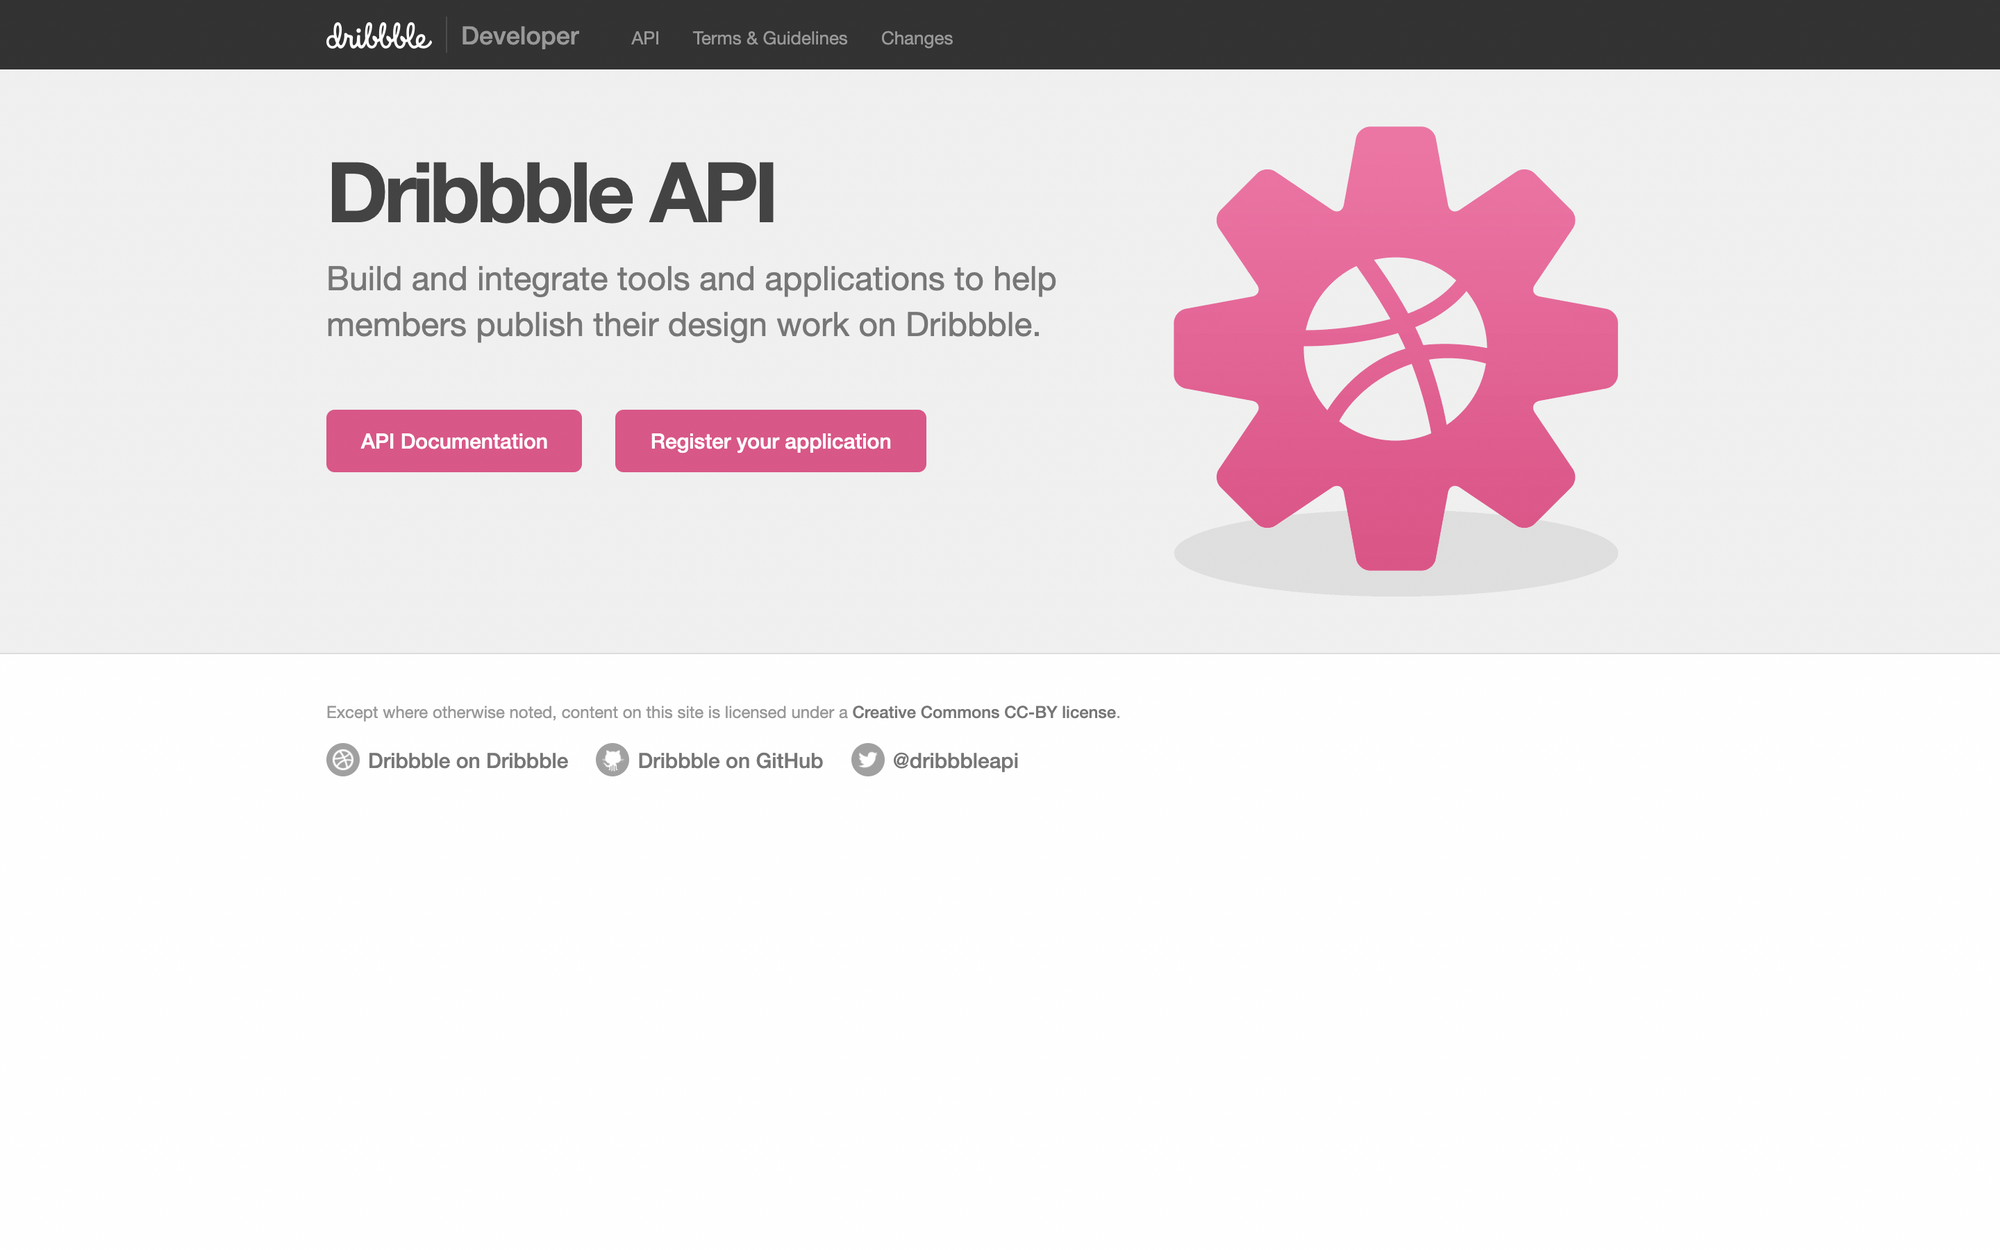
When you click on Register your application, you will be redirected to your Dribble profile page with Applications tab active.
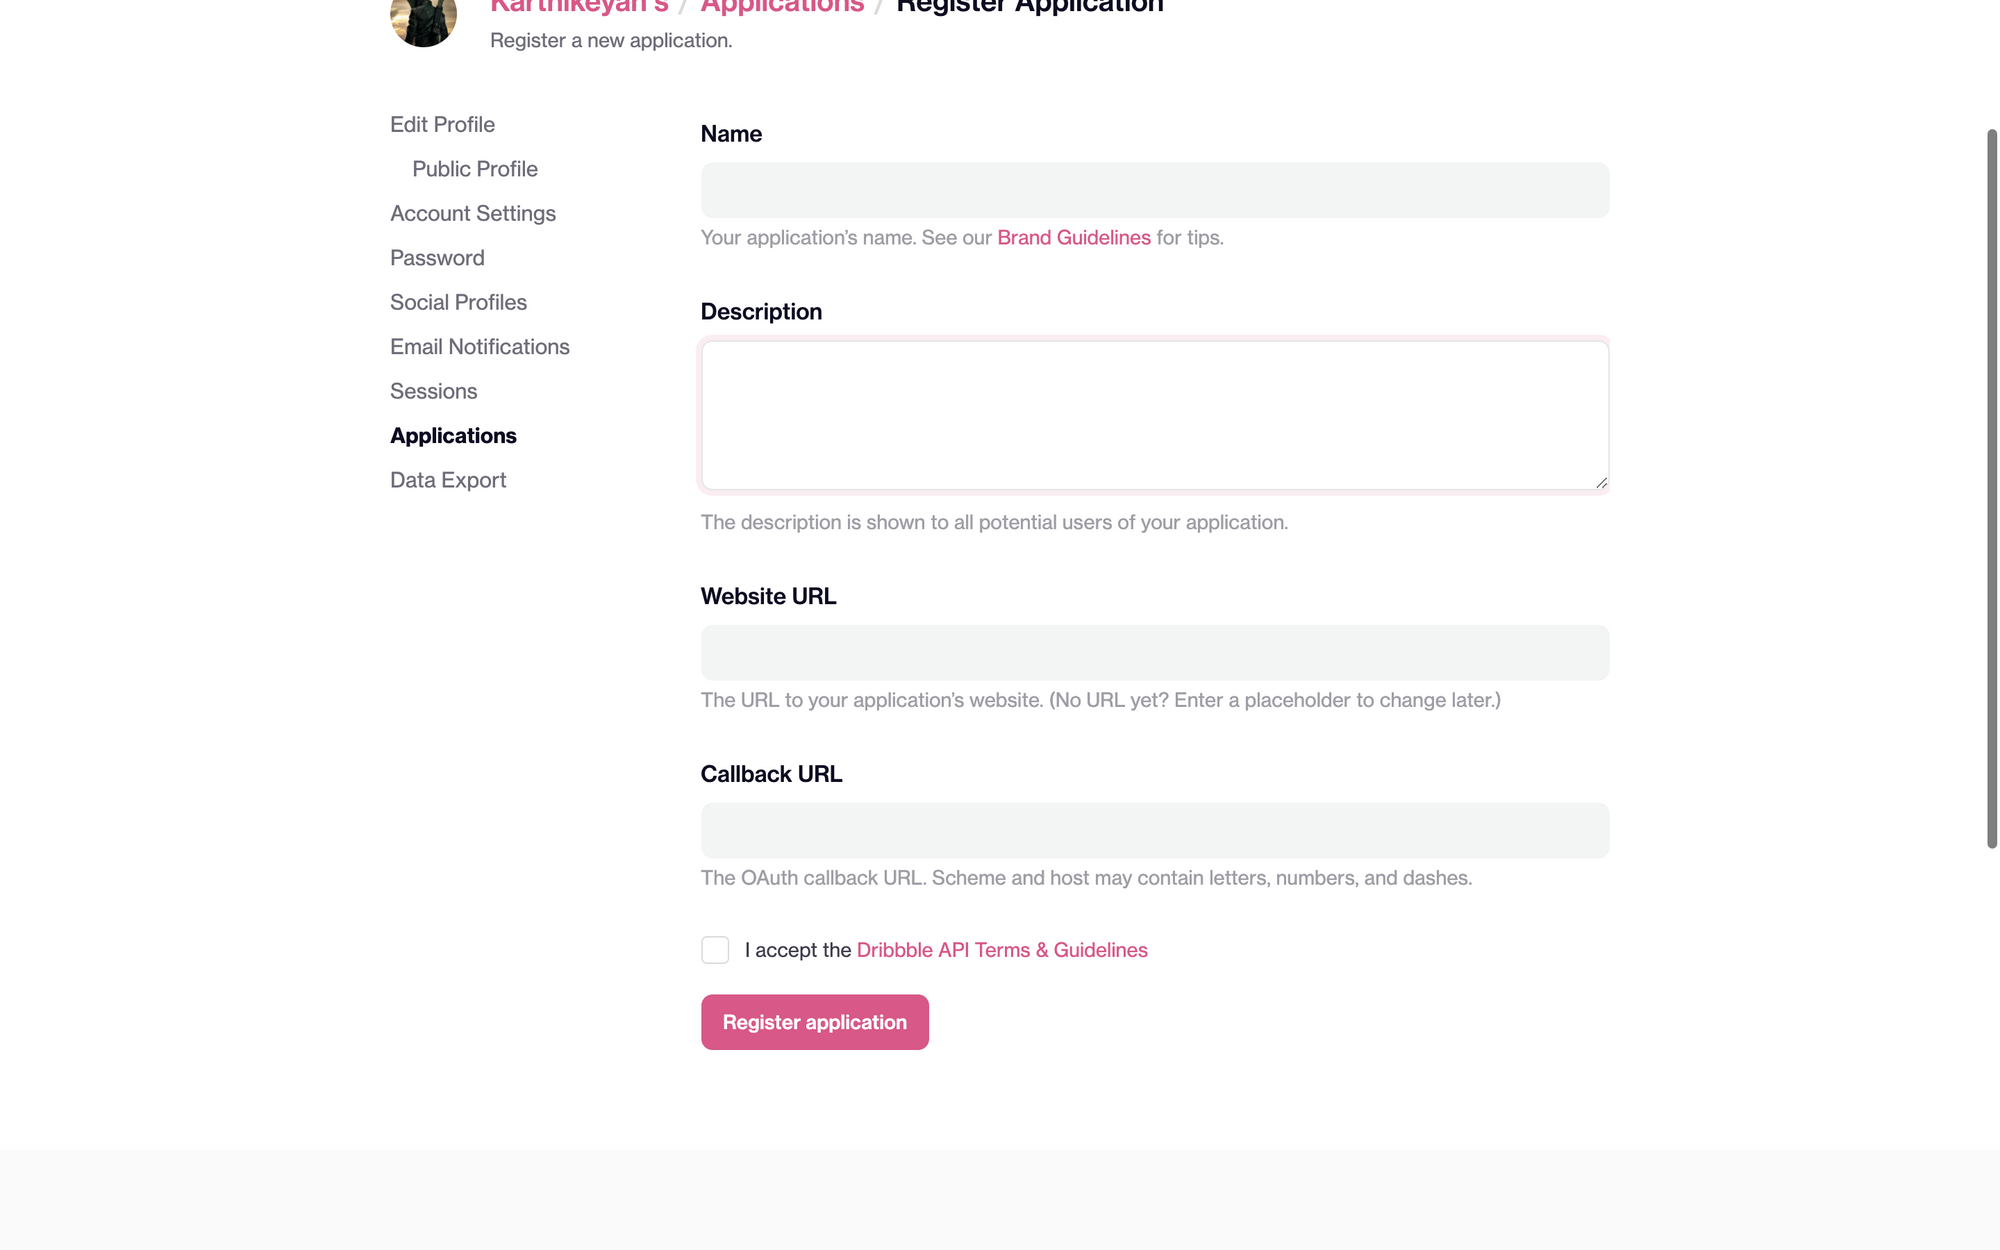
Give the name and description in the respective columns. Since we don't have the website url, let's give a placeholder https://example.com and for callback url your URL should be in this format.
https://YOUR_DOMAIN/login/callback
YOUR_DOMAIN can be found if you go to Applications -> <name of the application> , you will be find the domain name.
In my case the DOMAIN will be react-pluralsight.auth0.com and the url will be
https://react-pluralsight.auth0.com/login/callback
Construct your YOUR_DOMAIN likewise and add it in the callback_url and hit Register application.
Once done you will have access to Client ID and Client Secret. Hold on to them , we will be needing in the further part of the tutorial.
Now that we have sample application, let's add dribble connection.
Go to Authentication -> Social and click on Create Connection and Choose Dribble , you will be redirected to following page.
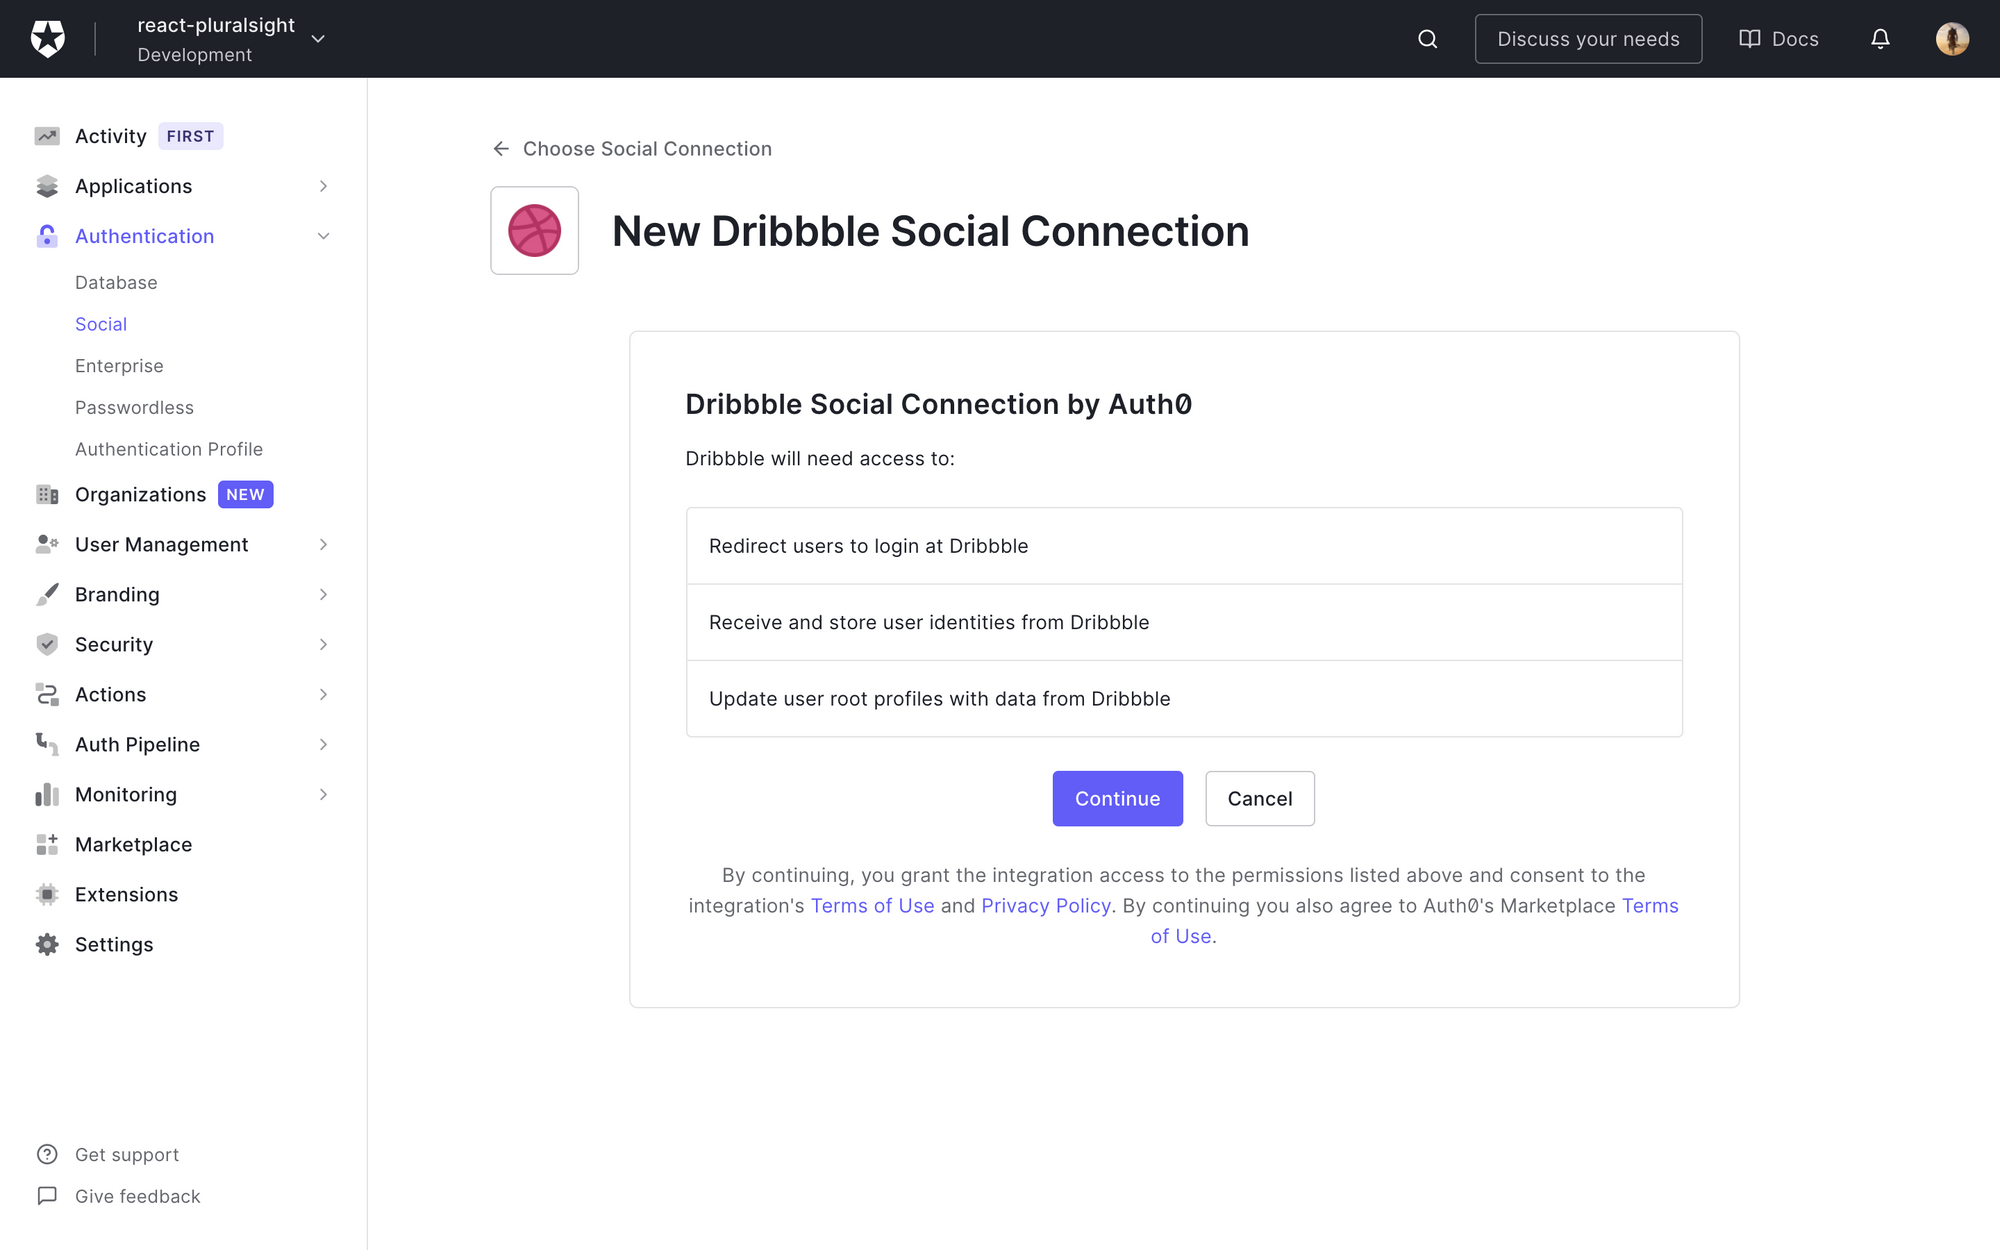
Click on continue and you will be redirected to the configuration page. Add the client ID and client secret which you got from the dribble application in the respective blocks and click Create.
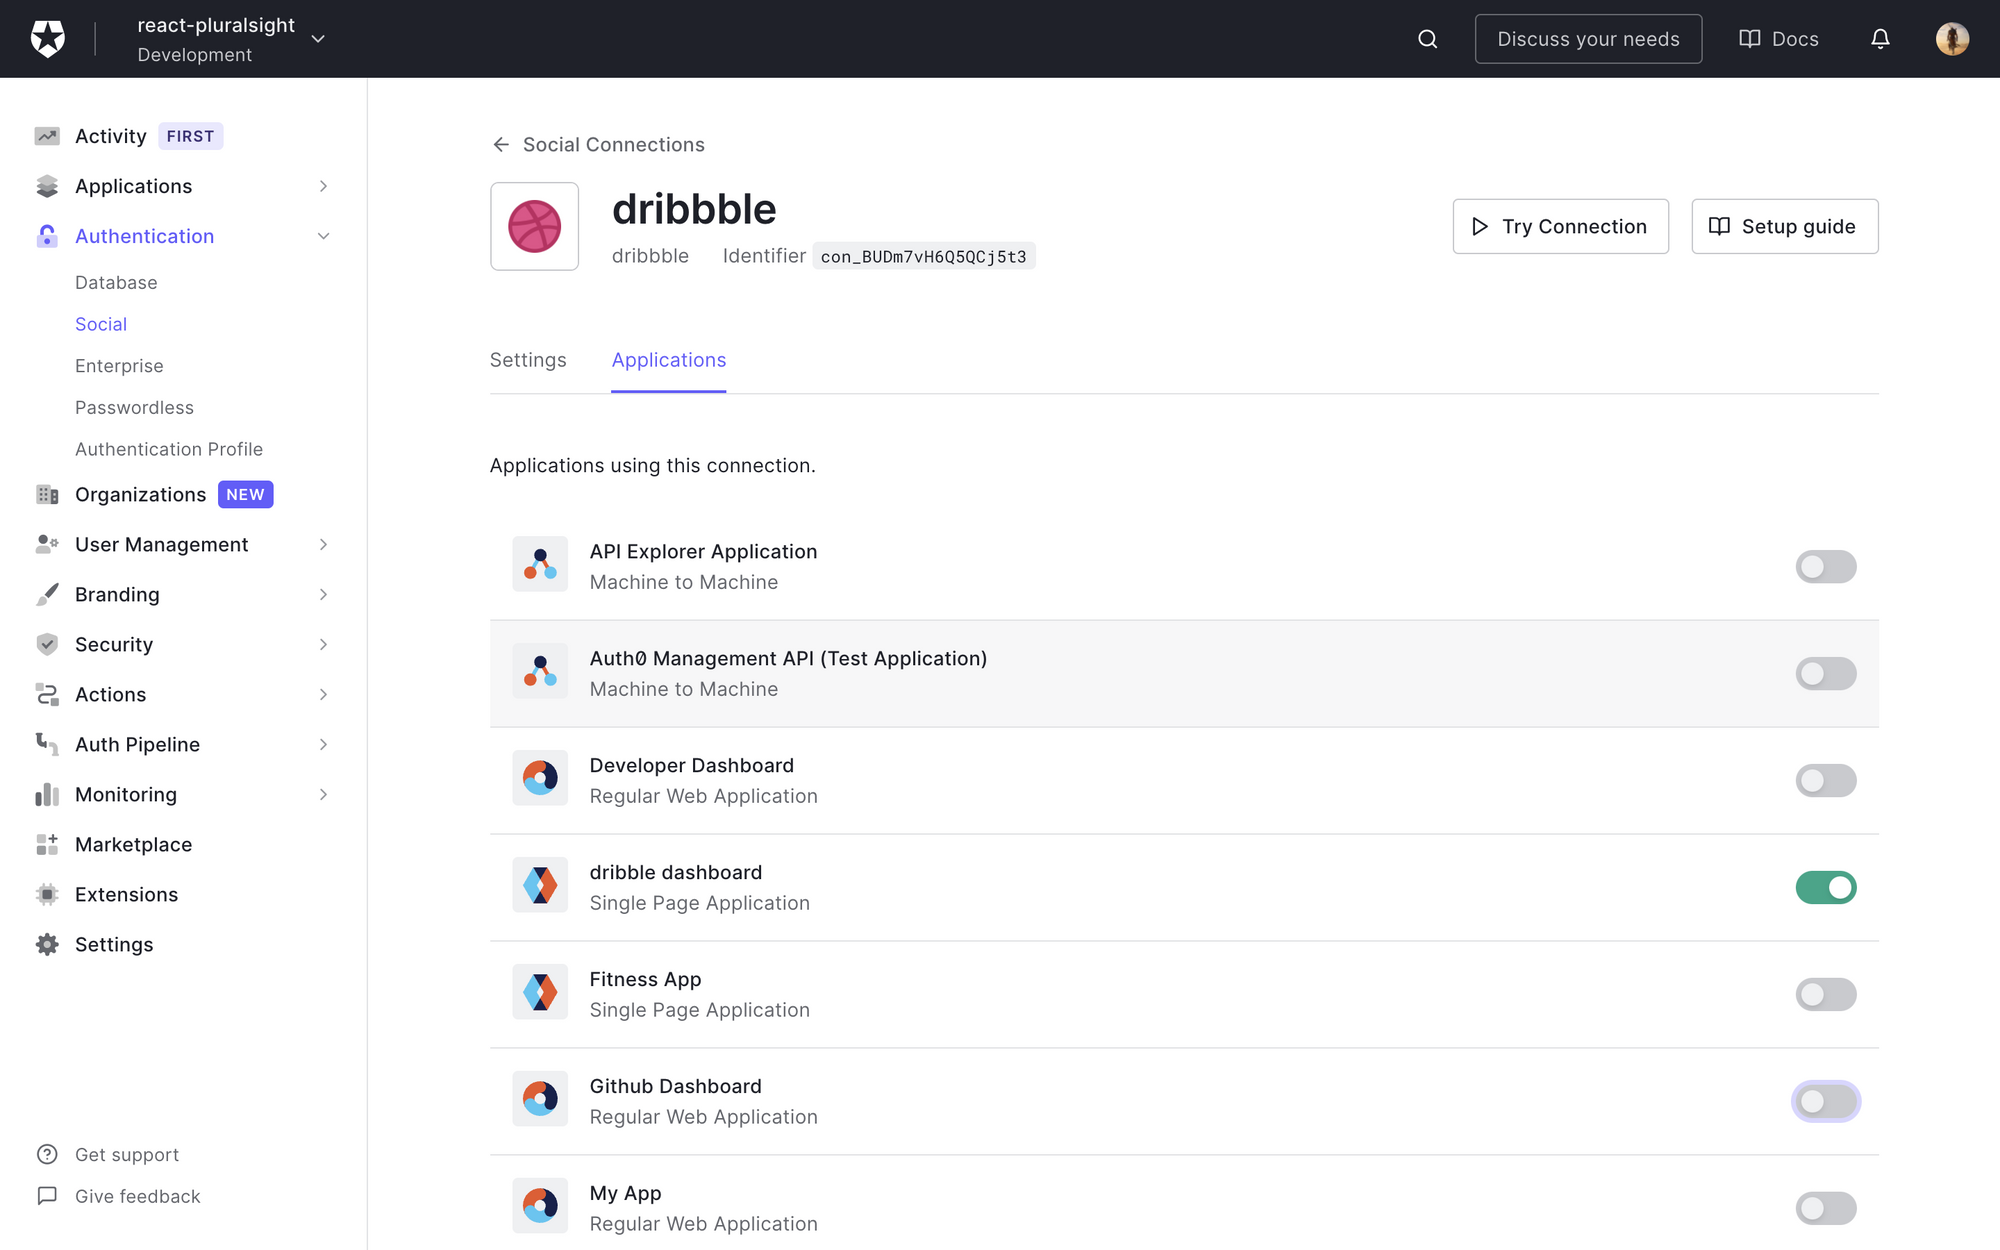
Once done go to the applications tab and check your application.
Let's code.
Connecting React with Auth0
Let's create our react application using create-react-app . Run the below command.
npx create-react-app dribble-login

cd dribble-login

yarn start
Let's install Auth0 sdk , run the below command
yarn add @auth0/auth0-react
Create a .env file in the root and add the following variables and values. You can get client id and domain from applications -> settings
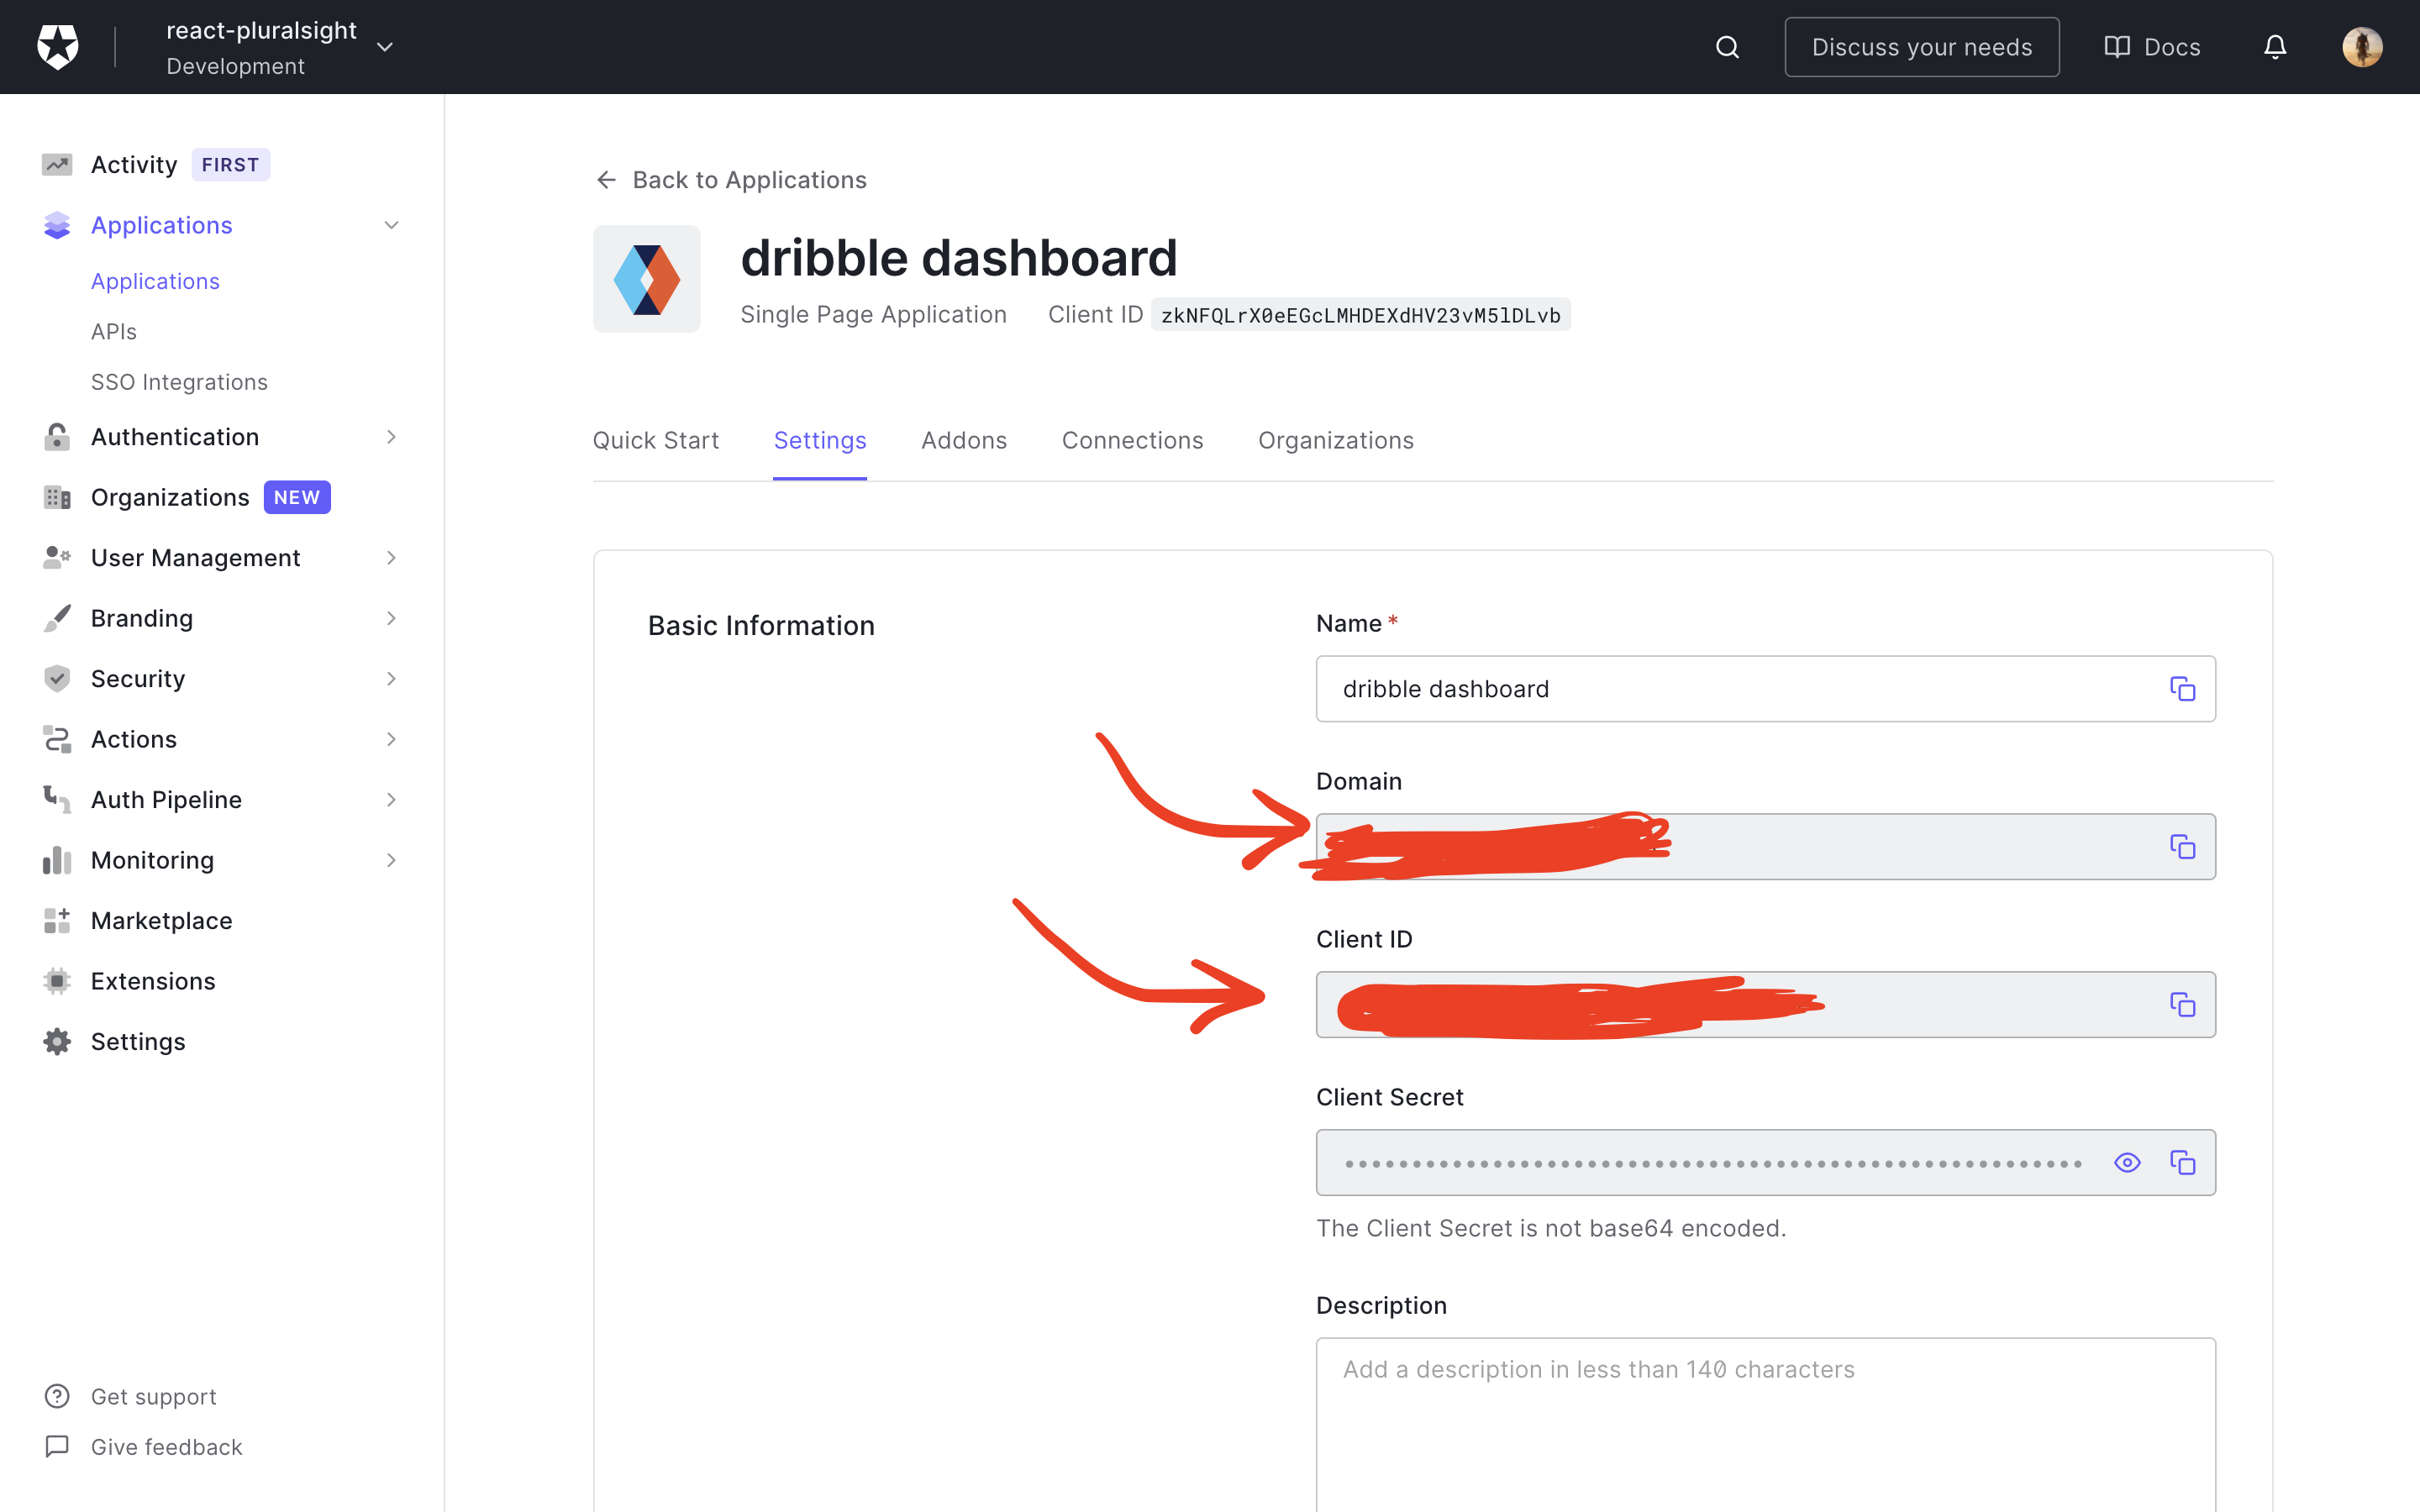
REACT_APP_CLIENT_ID=
REACT_APP_DOMAIN=
Restart your application , for env variables to be recognised.
Now go to src/index.js and add the following code
import React from "react";
import ReactDOM from "react-dom";
import App from "./App";
import { Auth0Provider } from "@auth0/auth0-react";

ReactDOM.render(
  <Auth0Provider
    domain={process.env.REACT_APP_DOMAIN}
    clientId={process.env.REACT_APP_CLIENT_ID}
    redirectUri={window.location.origin}
  >
    <App />
  </Auth0Provider>,
  document.getElementById("root")
);
By wrapping Auth0Provider from the Auth0 SDK to the root component and passing the domain and clientId we can integrate Auth0 with our react app.
Let create a login button which will redirect Auth0 powered login splash screen. Create a dribble-login.js in src folder and paste the following code.
import React from "react";
import { useAuth0 } from "@auth0/auth0-react";

/*
  Executing loginWithRedirect() redirects your users to the
  Auth0 Universal Login Page, where Auth0 can authenticate them.
*/
const DribbleLogin = () => {
  const { loginWithRedirect, isAuthenticated } = useAuth0();

  if(!isAuthenticated){
    return <button onClick={() => loginWithRedirect()}>Log In</button>;
  }
  return <> </>

export default DribbleLogin;
Now head over to the src/App.js and add the DribbleLogin component.
import DribbleLogin from './dribbleLogin';

function App() {
  return (
    <div className="App">
      <DribbleLogin/>
    </div>
  );
}

export default App;
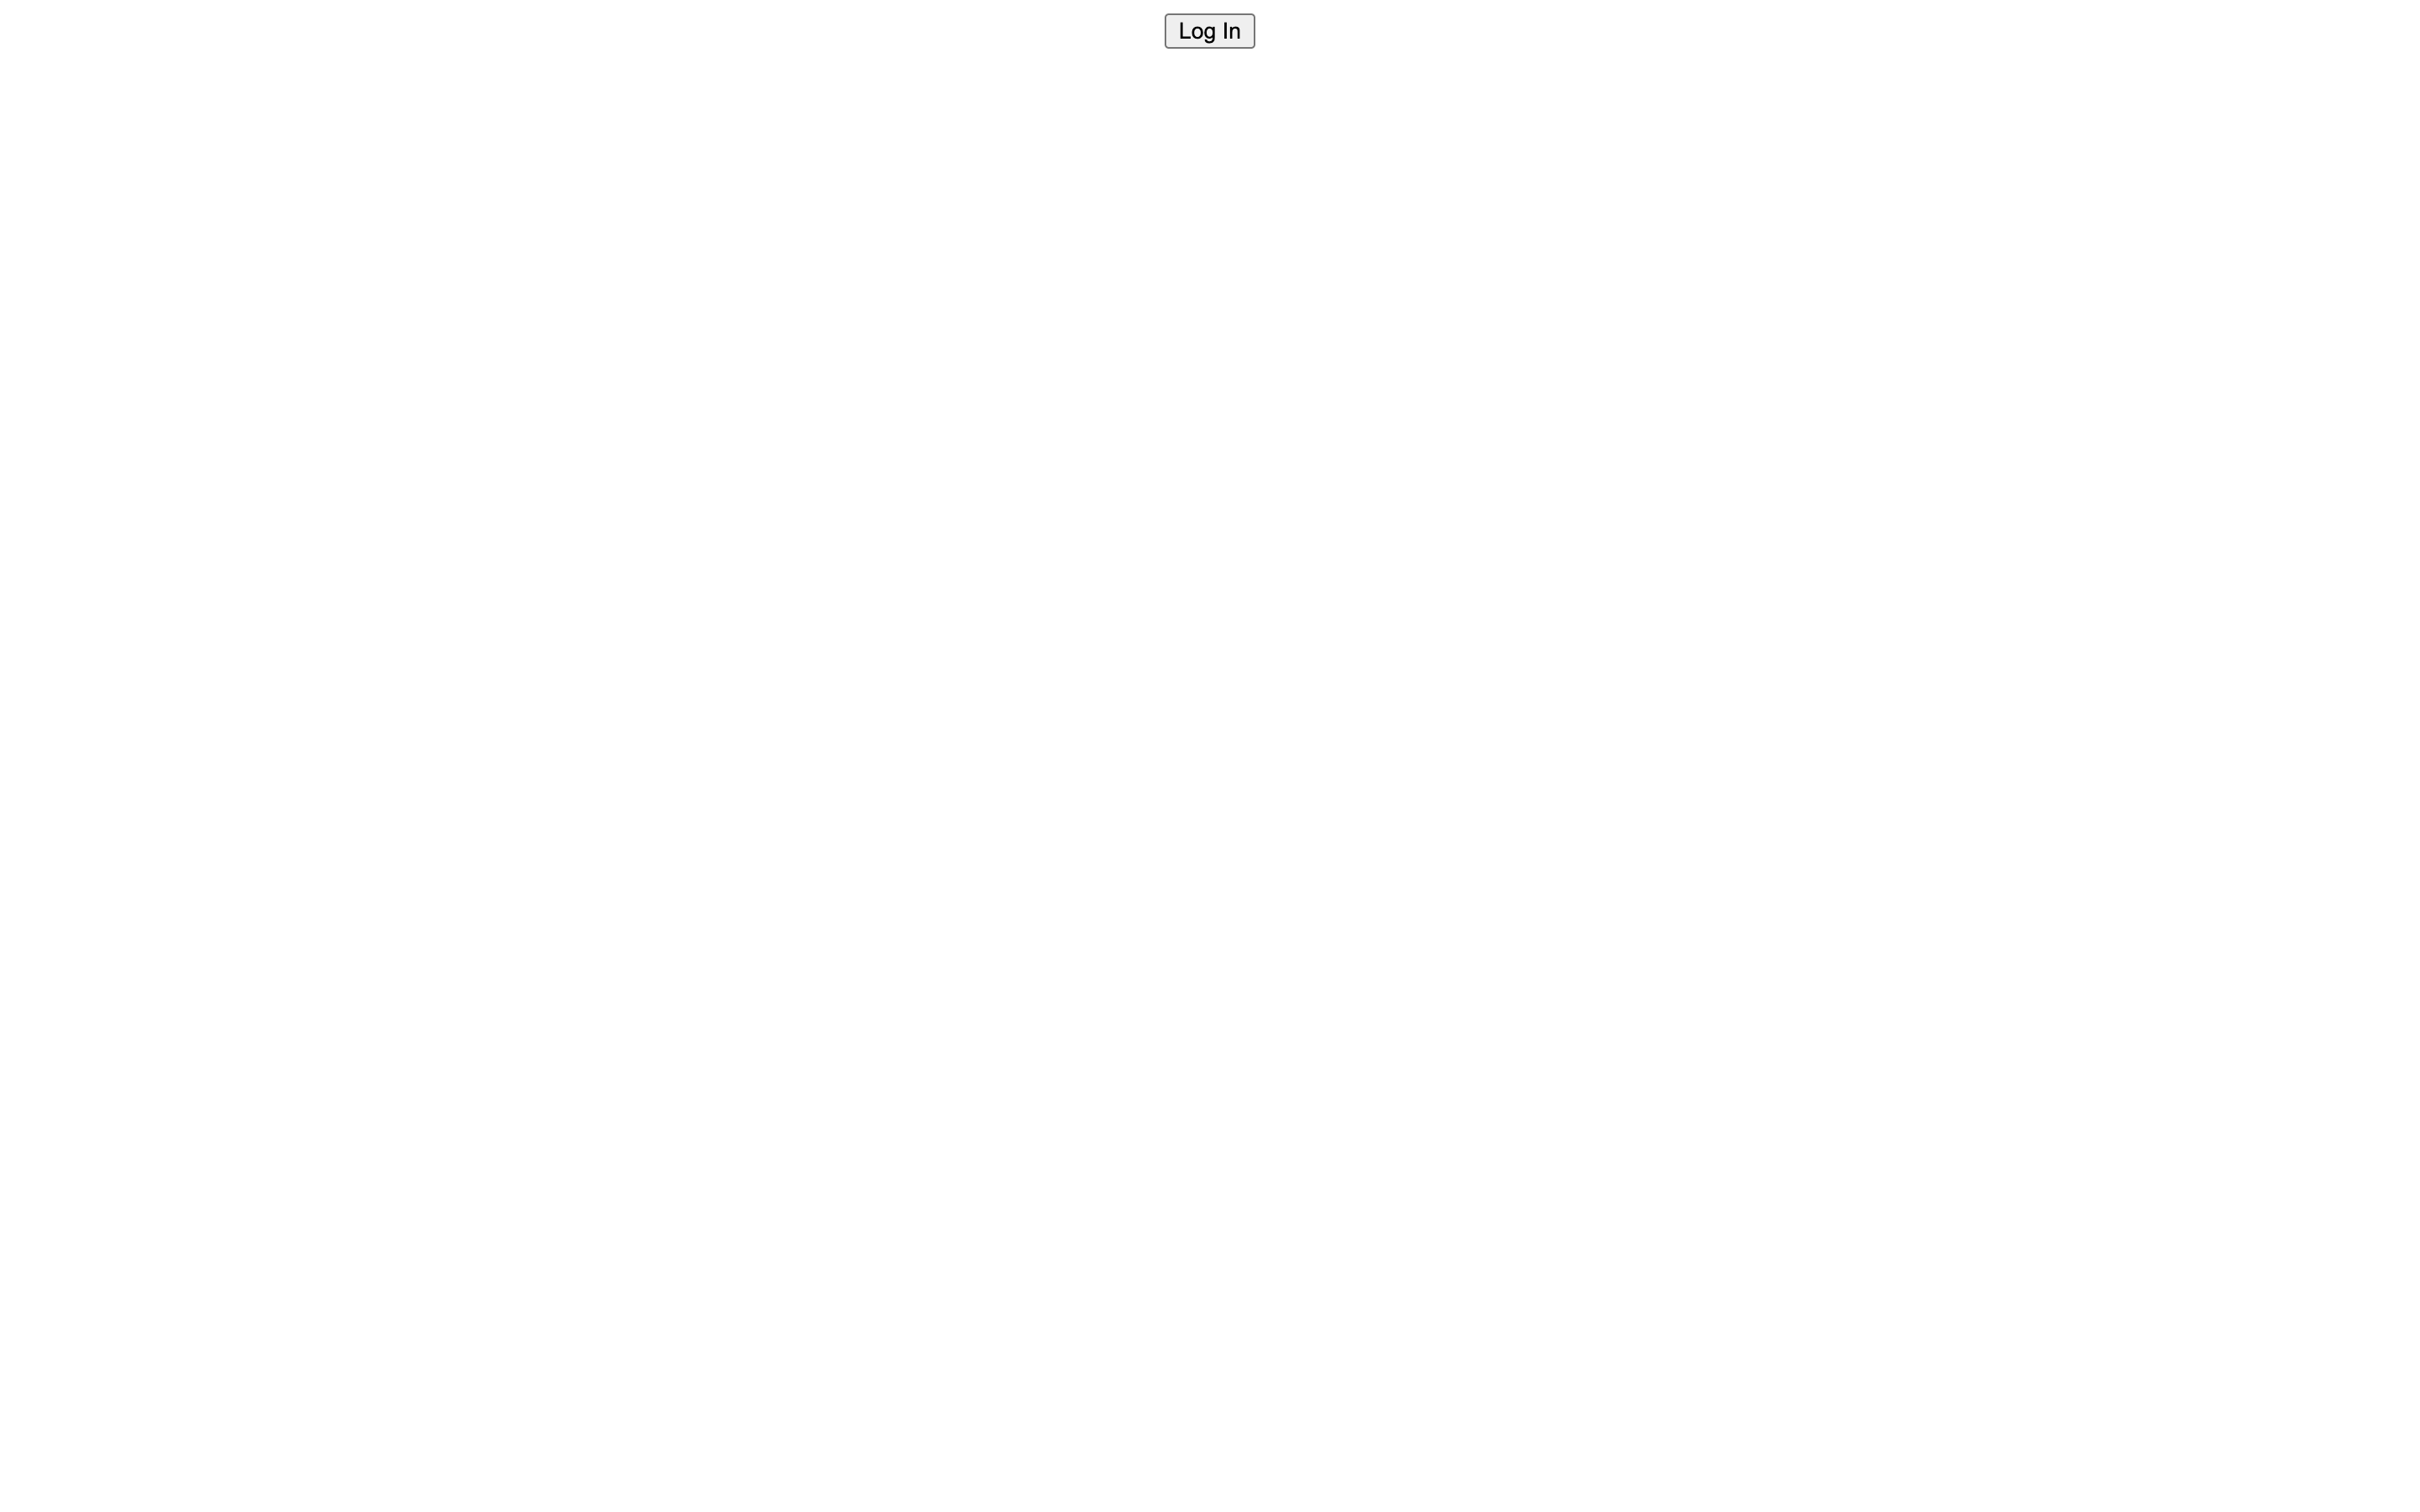
Now run yarn start and go to localhost:3000 or localhost:3001
You should see something like this, plain old login button. Click login button.
You will end up in a page saying , callback url mismatch
What did we miss,

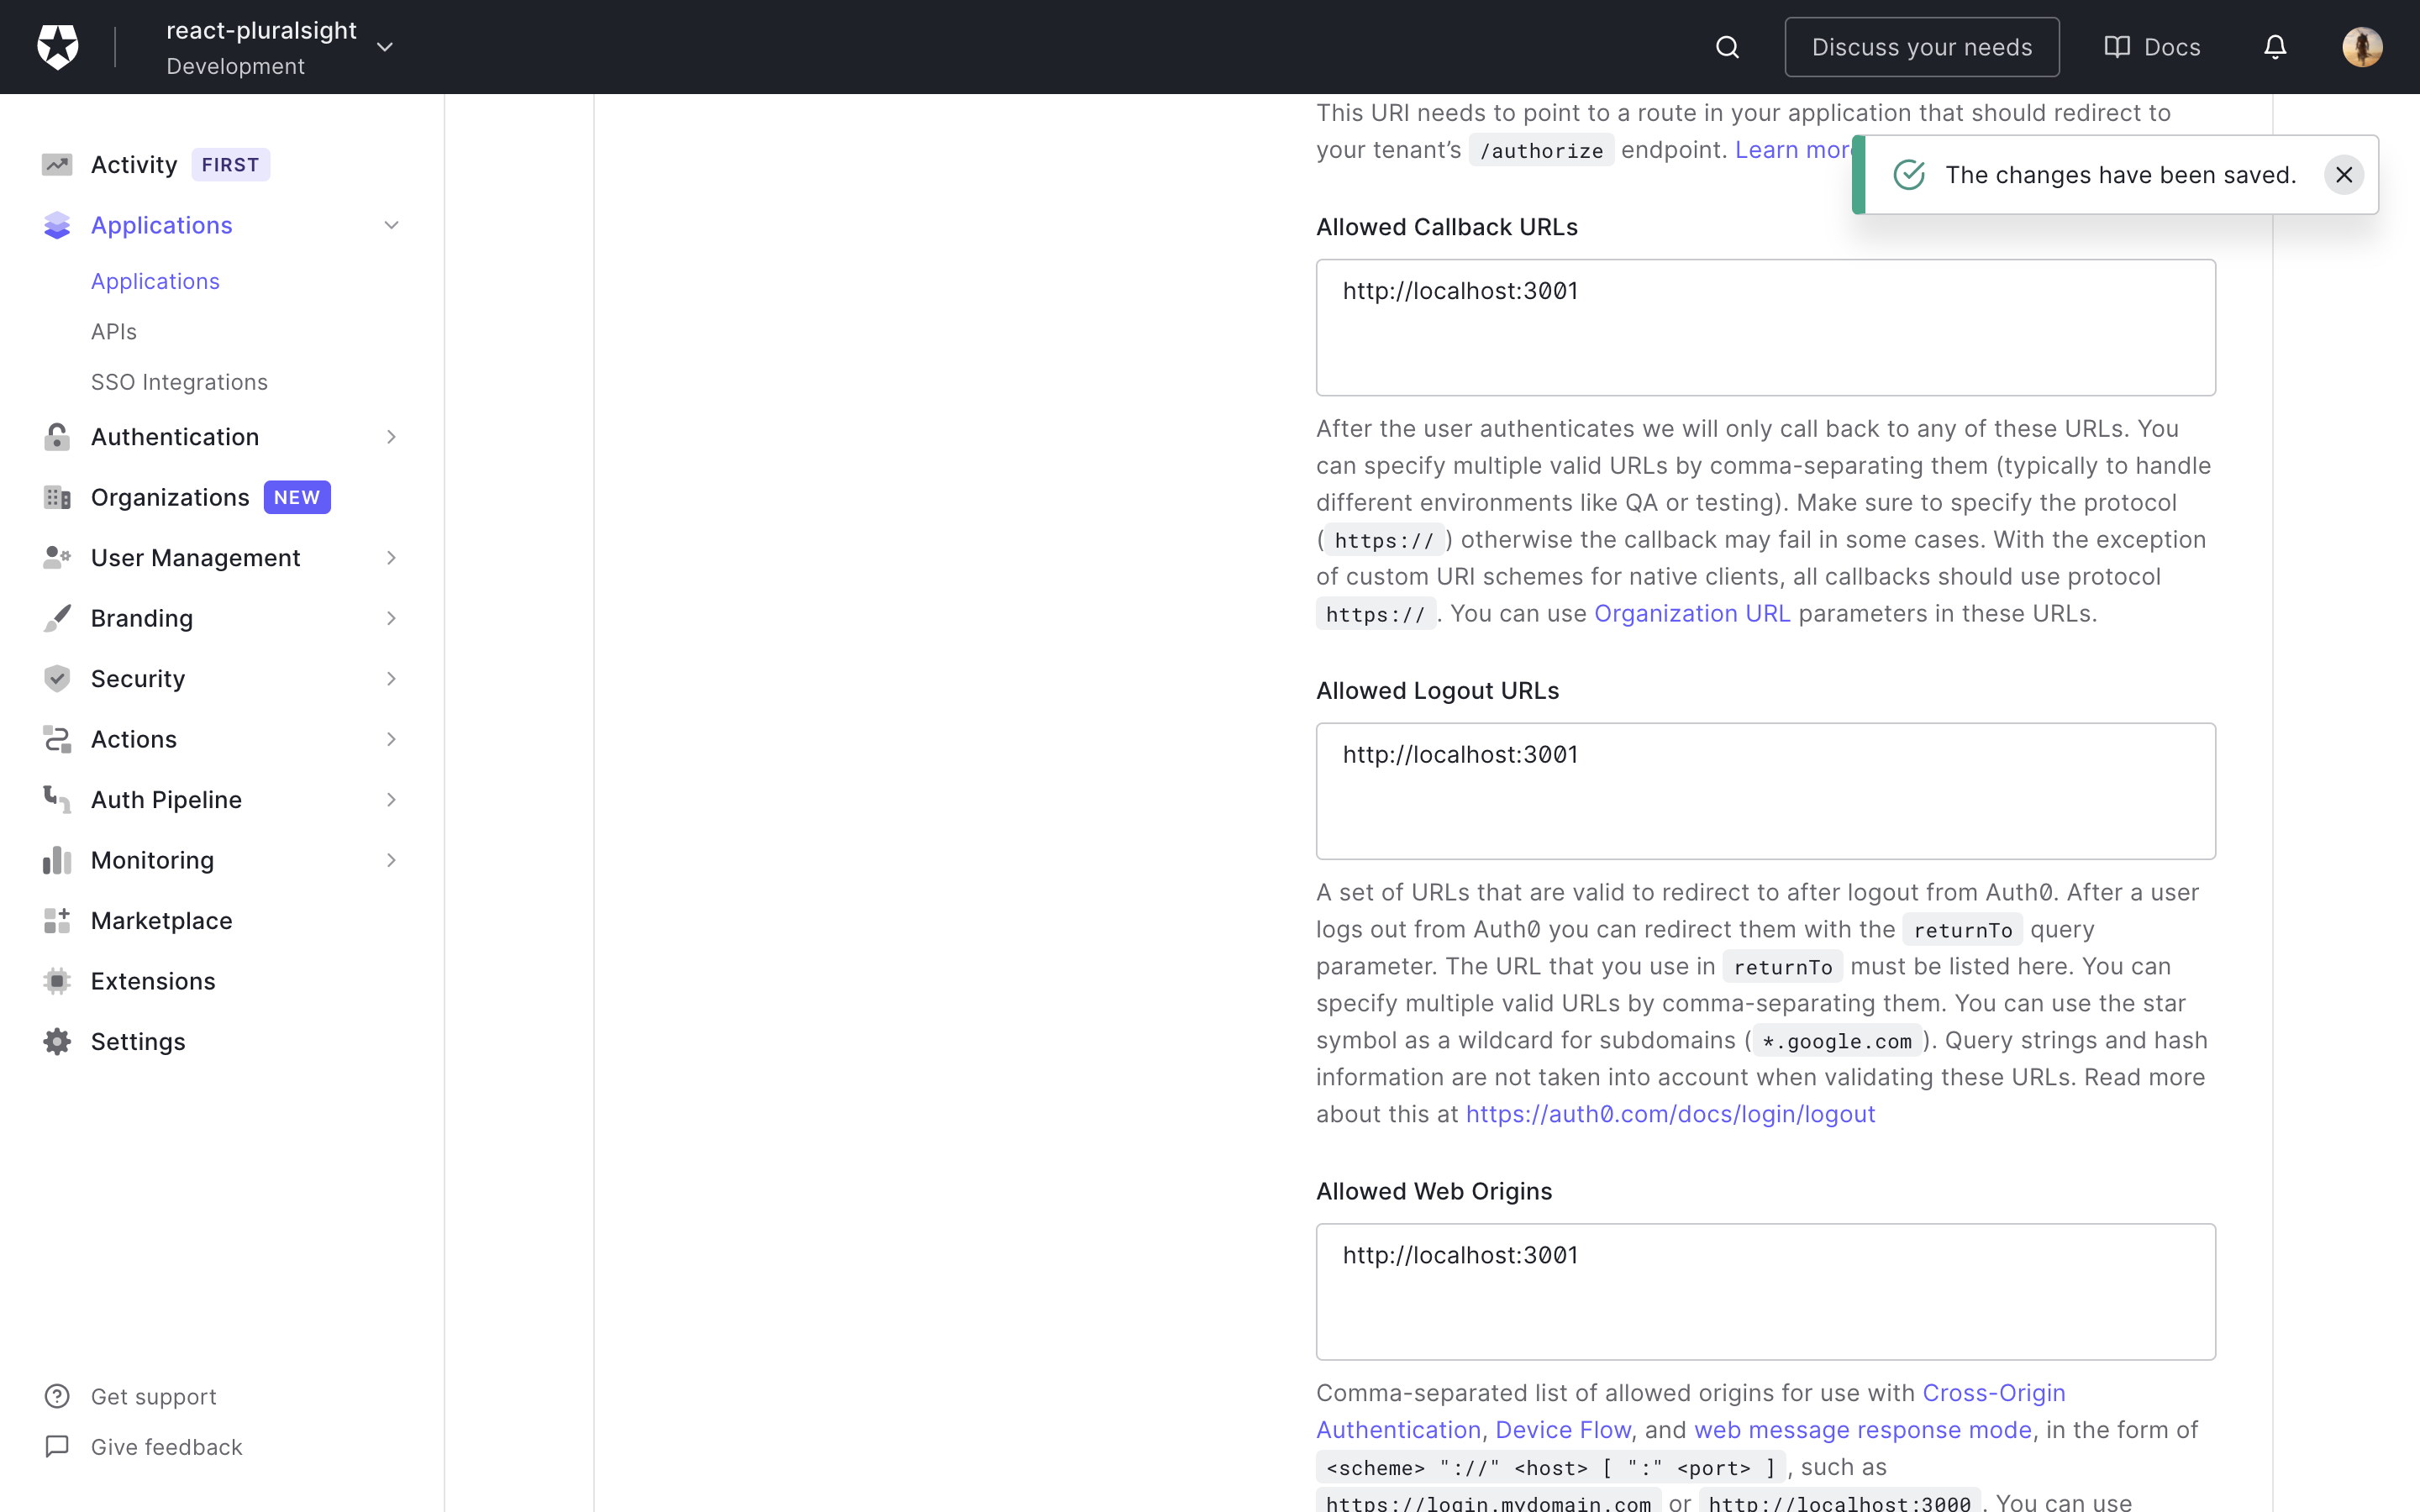
Based on the error message , we did not configure the callback, allowed web origin and logout url.
What are those ?
Callback URL: URL in your application where Auth0 redirects the user after they have authenticated.
Allowed Web origin: Making sure the users does not logout the application when they visit them the next time or refresh the page
LogoutURL: URL in your application that Auth0 can return to after the user has been logged out of the authorization server
Go to settings and add localhost:3000 or localhost:3001 url since the app is in the development stage.
Note: port number can be different. Please add them accordingly and save the changes.
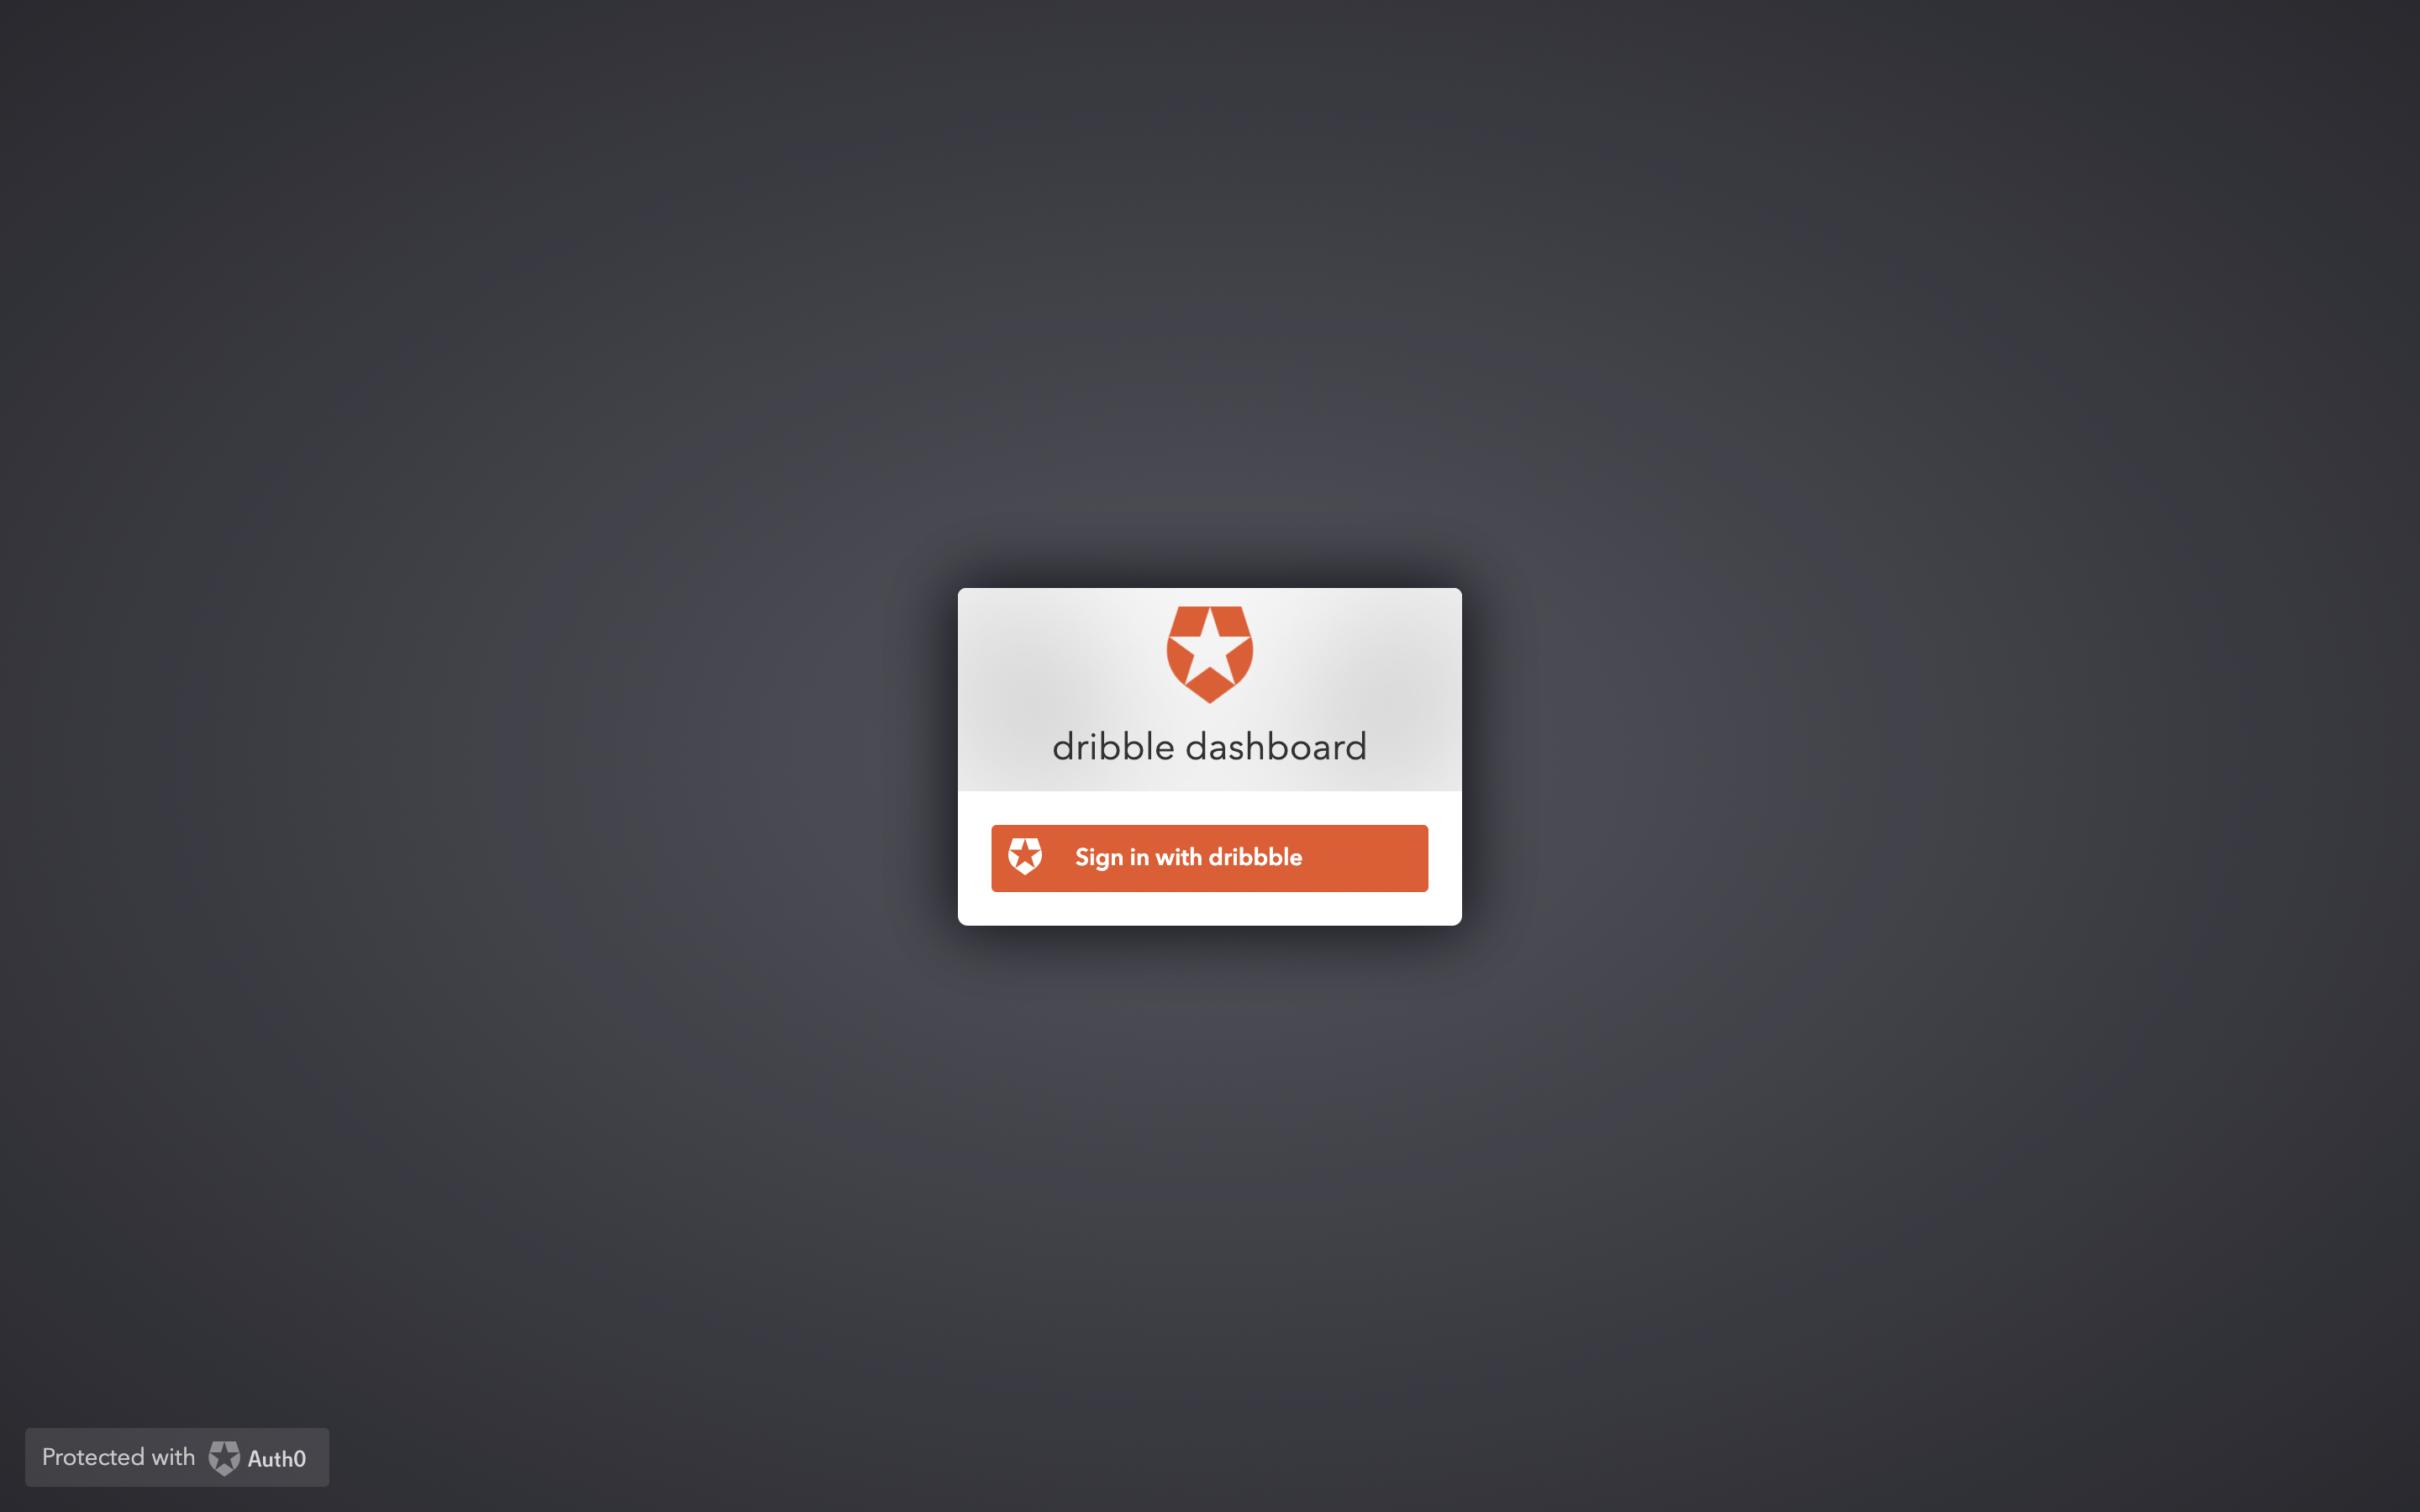
Since my react application is running on localhost:3001 , I will go to the url and run in the browser. Click the login button and now we should be able to see the splash screen as expected
After successful login with dribble , you will be redirected back to the react application with plain old login button.
Let's handle it by making sure to add the logout button and profile info to display after successful login
Rendering dribble profile
Create src/logout.js and logging out the user in the Auth0 can be done by calling logout function in the useAuth0 hook. Add the following code
import React from "react";
import { useAuth0 } from "@auth0/auth0-react";

const Logout = () => {
  const { logout, isAuthenticated } = useAuth0();

  if(isAuthenticated){
    return (
        <button onClick={() => logout({ returnTo: window.location.origin })}>
          Log Out
        </button>
      );
  }
  return <> </>

};

export default Logout;
Create src/profile.js and add the following piece of code
import React from "react";
import { useAuth0 } from "@auth0/auth0-react";

const Profile = () => {
  const { user, isAuthenticated, isLoading } = useAuth0();

  if (isLoading) {
    return <div>Loading ...</div>;
  }

  return (
    isAuthenticated && (
      <div style={{marginTop: '10px'}}>
        <img src={user.picture} alt={user.name} />
        <h2>{user.name}</h2>
        <p>{user.email}</p>
        <pre style={{whiteSpace: 'pre-wrap'}}>
            {
            JSON.stringify(user)
        }
        </pre>
      </div>
    )
  );
};

export default Profile;
Here, again from useAuth0 hook we display the profile info based isAuthenticated boolean we display the profile information.
Now let's add the component in the App.js file and modify as shown below
import DribbleLogin from './dribbleLogin';
import Logout from './logout';
import Profile from './profile';

function App() {
  return (
    <div className="App">
      <DribbleLogin/>
      <Logout/>
      <Profile/>
    </div>
  );
}

export default App;
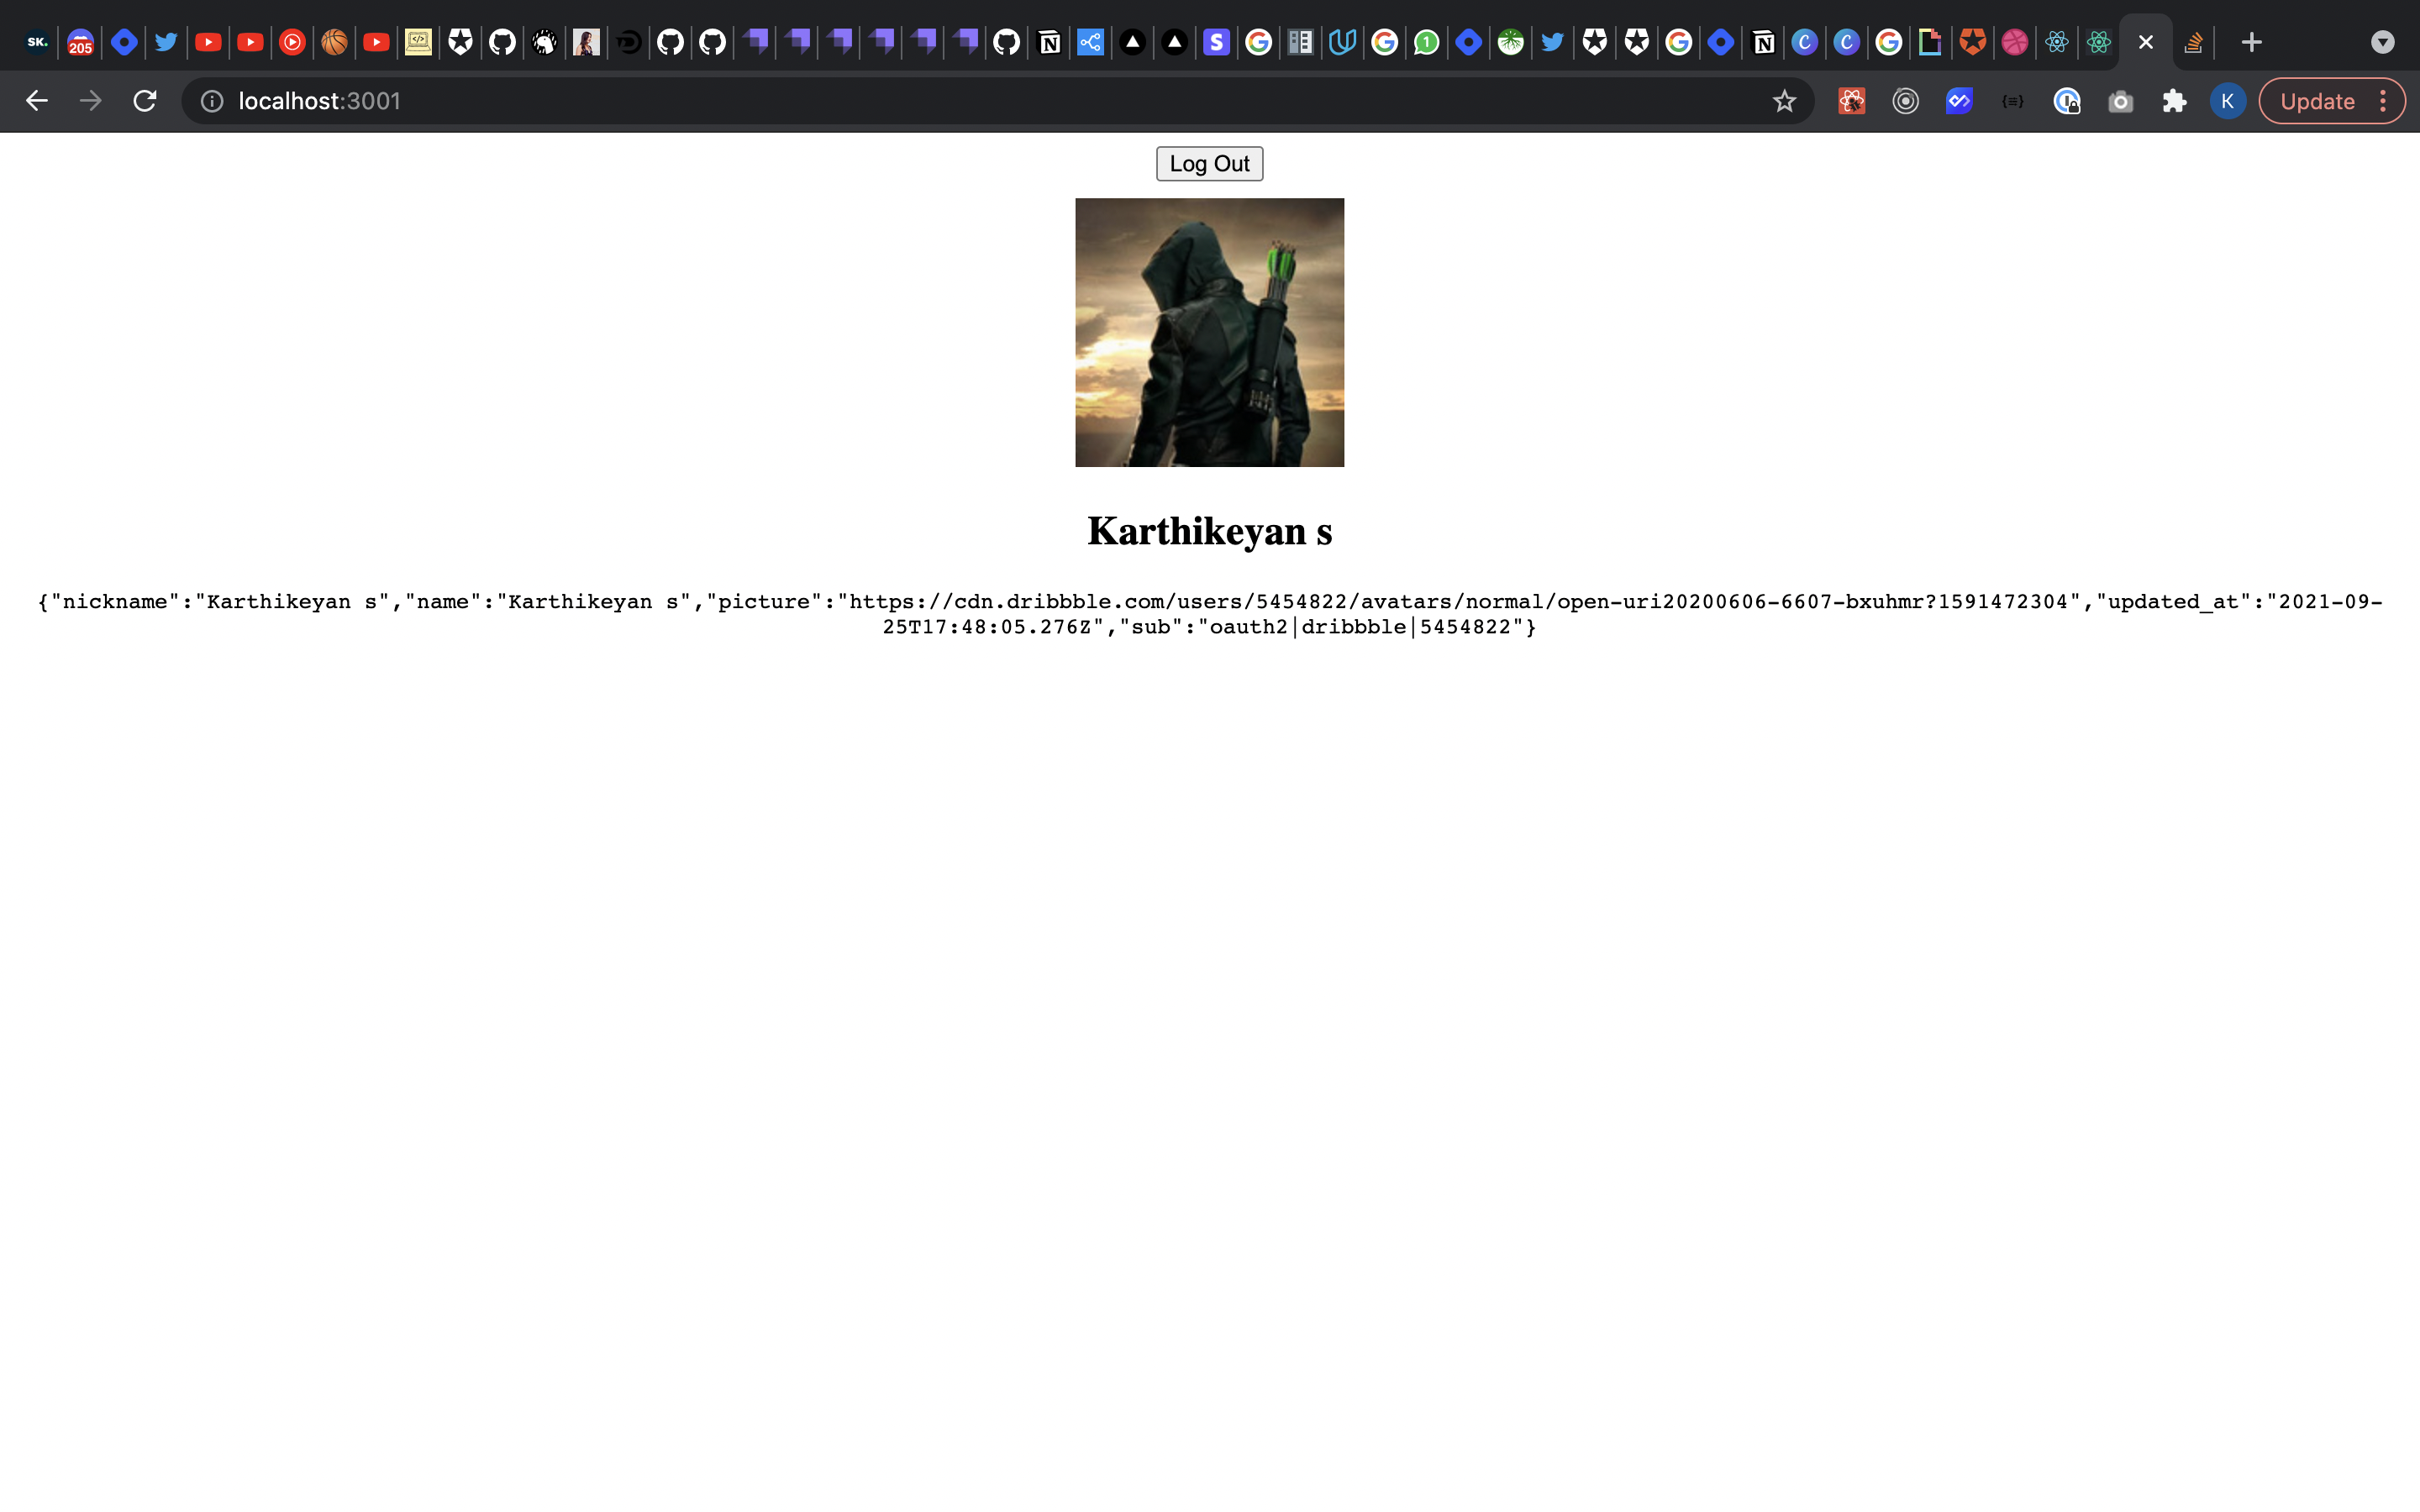
Head over to the browser and hit reload, since we have already logged in we should successfully see the profile information displayed

Conclusion:
Thank you for following along till the end. By the end of the blog post , you should have sample react application connected to your dribble account , rendering the profile in the browser as expected.
Auth0 has took care all of the behind the scenes authentication and authorisation problem and reducing the scope of the problem for the to solve.

Hope it was useful. Please feel free to ask any questions in the comment. Feedbacks are always welcome.
Stay Safe and Happy Coding :)
Comments (0)